Use AI Art
There are 2 sections, potential uses for AI Art, and my personal ‘How To’
Uses for AI Art
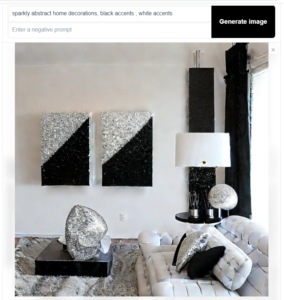
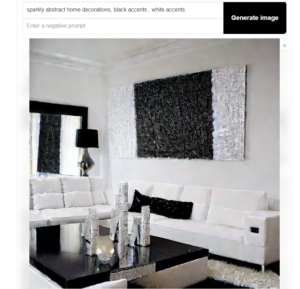
Using it to visualize room themes and low effort decorations.
These are for my black, white, and sparkly bedroom. I found the pictures on the wall incredible inspiration, I can DIY that easy and low cost.
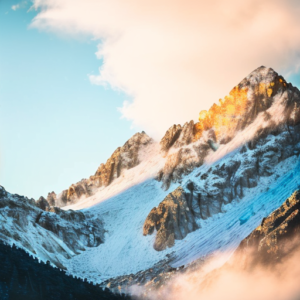
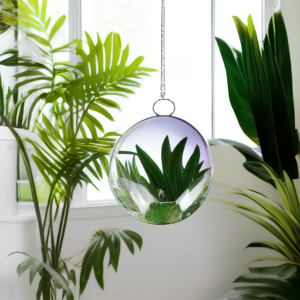
Make custom art for rooms.
The first two are for my blue, teal, and gold themed room

This is for my glass and plant themed office.
Make yourself blonde and tan in pictures without spending money or time at a salon.
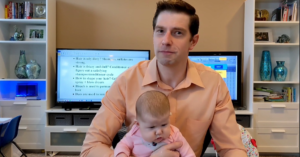
As an example, here is a photo from our Youtube Channel where my newborn drops a big spit glob on my hand.
Before Blonde:
After Blonde:
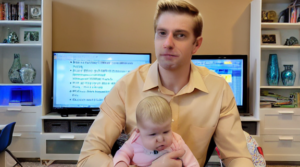
It took longer to find a picture than to run the program. You can also limit the picture to specific areas, I used this online version which works just okay.
More ideas:
- Upscale small photos to 4k.
- Colorize old and clarify grainy photos.
Get started on AI Art
No effort, web link, limited features
If you want to get started right away, there is this hugging face link. Warning that you often need to smash the generate button like 10 times to get in the queue.
https://huggingface.co/spaces/stabilityai/stable-diffusion
The downside is that you can’t use other models, add extensions, or use img2img.
I am sure there are other websites that allow this.
Low effort, feature rich, and potentially free: Google colab
This gives google your information and will be so easy that you will likely pay ~$12/mo for google colab pro + 100gb google drive.
Go here:
https://colab.research.google.com/github/TheLastBen/fast-stable-diffusion/blob/main/fast_stable_diffusion_AUTOMATIC1111.ipynb
Hit Run All, and connect to your google drive.
Run it on your own computer
If you have an Nvidia video card that is 1000 series or higher you can follow this. (You can also do something with just your CPU, its much slower, the parameters matter. Google ‘How to run automatic1111 with a CPU’)
- Install python 3.9, 64 bit
- Pick one:
- Install Git, go to whatever folder you want to store your files in, open up terminal/cmd(as admin), send without quotes: “git init”, then send without quotes “git clone https://github.com/AUTOMATIC1111/stable-diffusion-webui.git”
- Go to this page, https://github.com/AUTOMATIC1111/stable-diffusion-webui, click the green Code button, then Download Zip, extract it to whatever folder you want to store your files in.
- Download the 4 gb model file, the link I have is the classic/base model https://huggingface.co/runwayml/stable-diffusion-v1-5/resolve/main/v1-5-pruned-emaonly.safetensors
- Copypaste the model in the folder stable-diffusion-webui\models\Stable-diffusion
- Go to the stable-diffusion-webui folder and double click webui-user.bat, after like 10-20 minutes a url saying 127.0.0.1:7860 should appear, you can now use Stable Diffusion! Only the first time takes a long time, after that it should only take a minute.
- If you get errors about VRAM, you can use a modifier in the parameters like –low-vram
Some final ideas for after you get good: Its worth looking into additional models, its worth playing with ControlNet, check out dreambooth too. ControlNet is incredible.
I’ve never seen technology move so fast as Stable Diffusion. This guide may be outdated, if you get an error. Google it. Don’t give up. I’ve seen plenty of ‘degenerates’ make lewd photos, I’m sure you can figure it out.